And so it begins....
The crankshaft. Possibly the most important part of the entire project as nothing can happen without it. This has made the start of the build feel like it has officially started. Everything machined and ready to simply drop in and torque down. I wanted to take immense care in being sure everything was done perfectly so I naturally snapped less pictures of the process. Enjoy what I did produce.
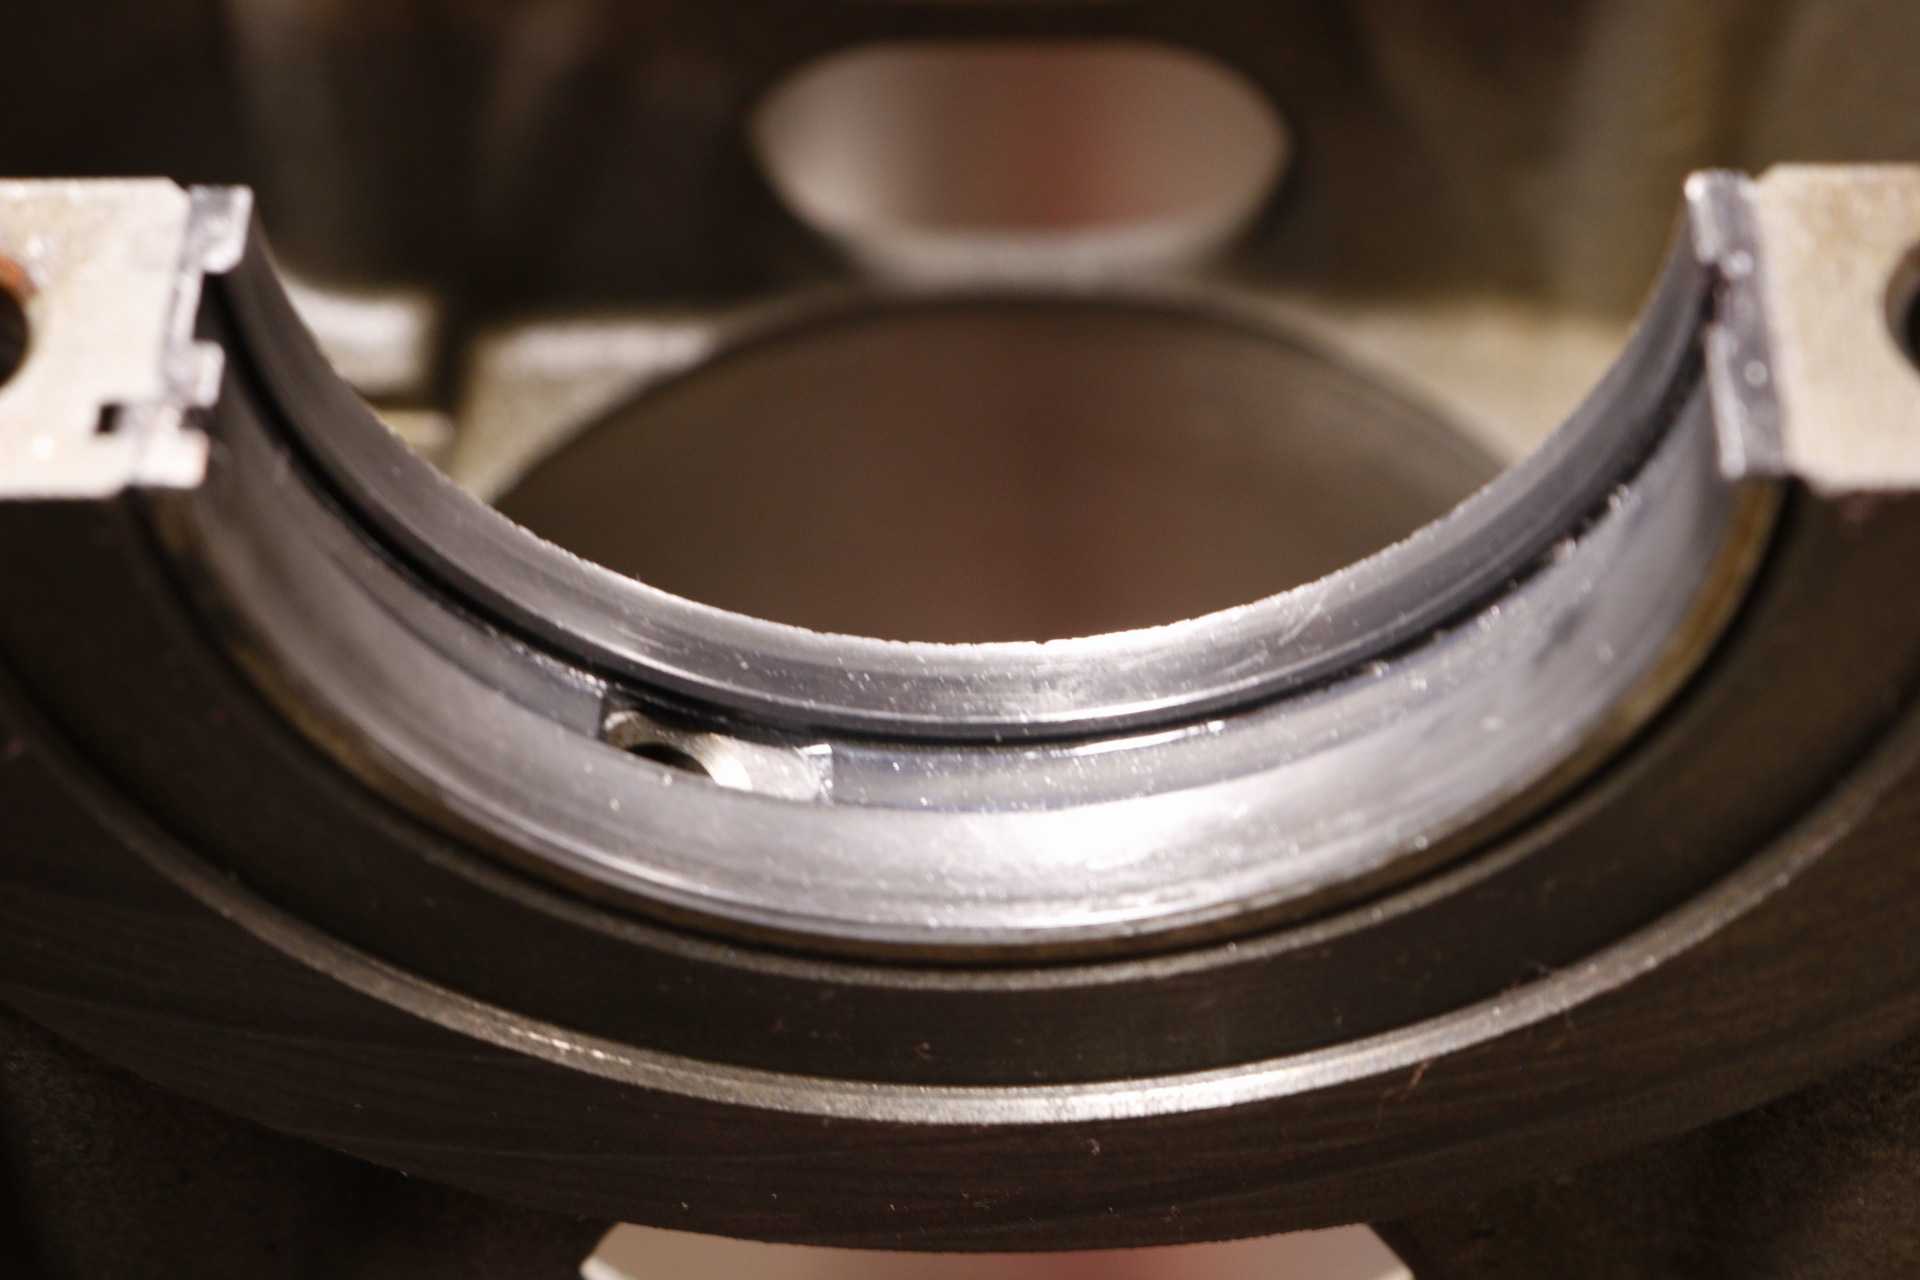
King Racing Bearings were left installed from the machine shop. I did not have to do anything but verify everything looked correct.

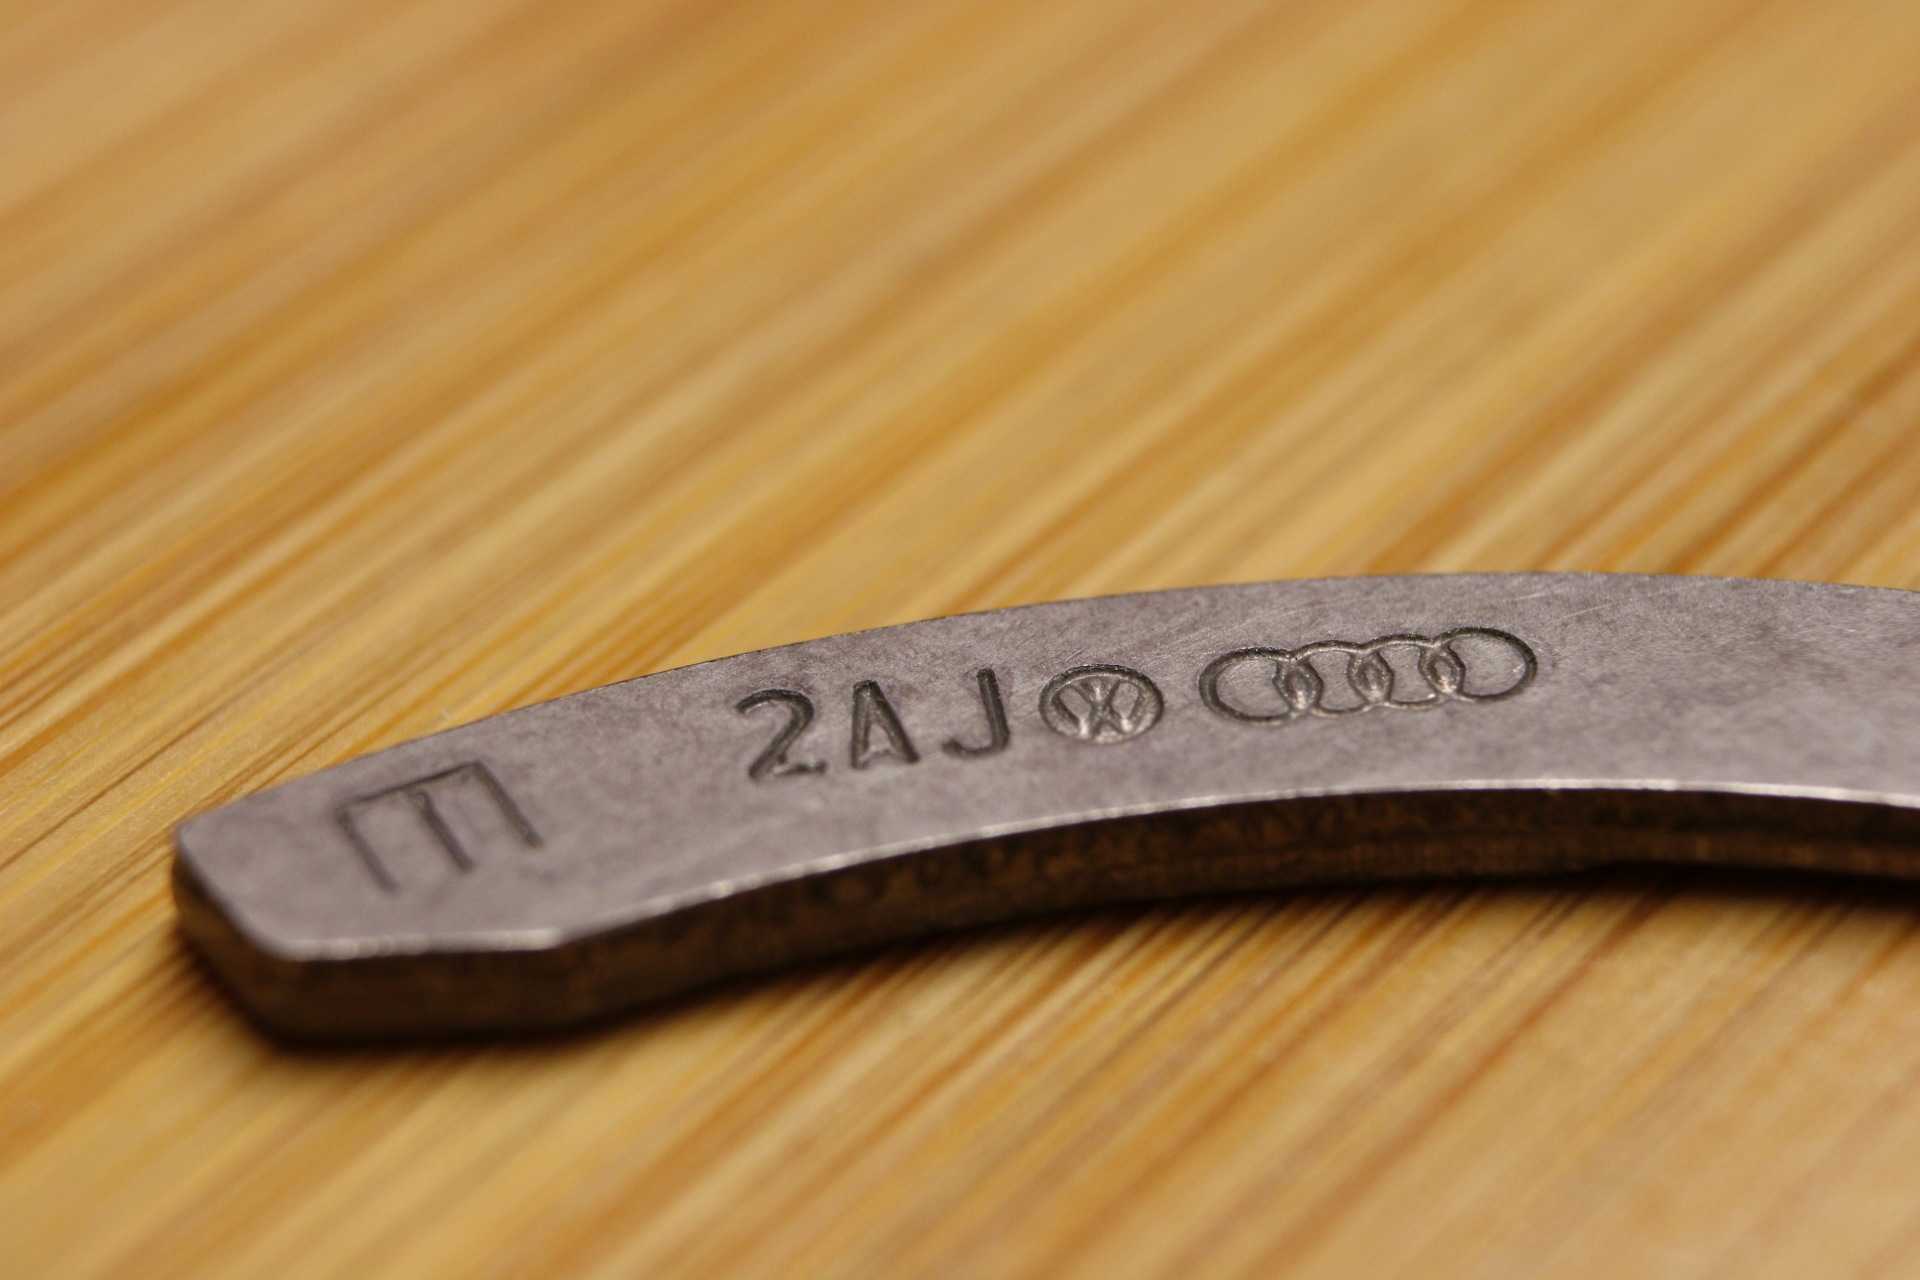
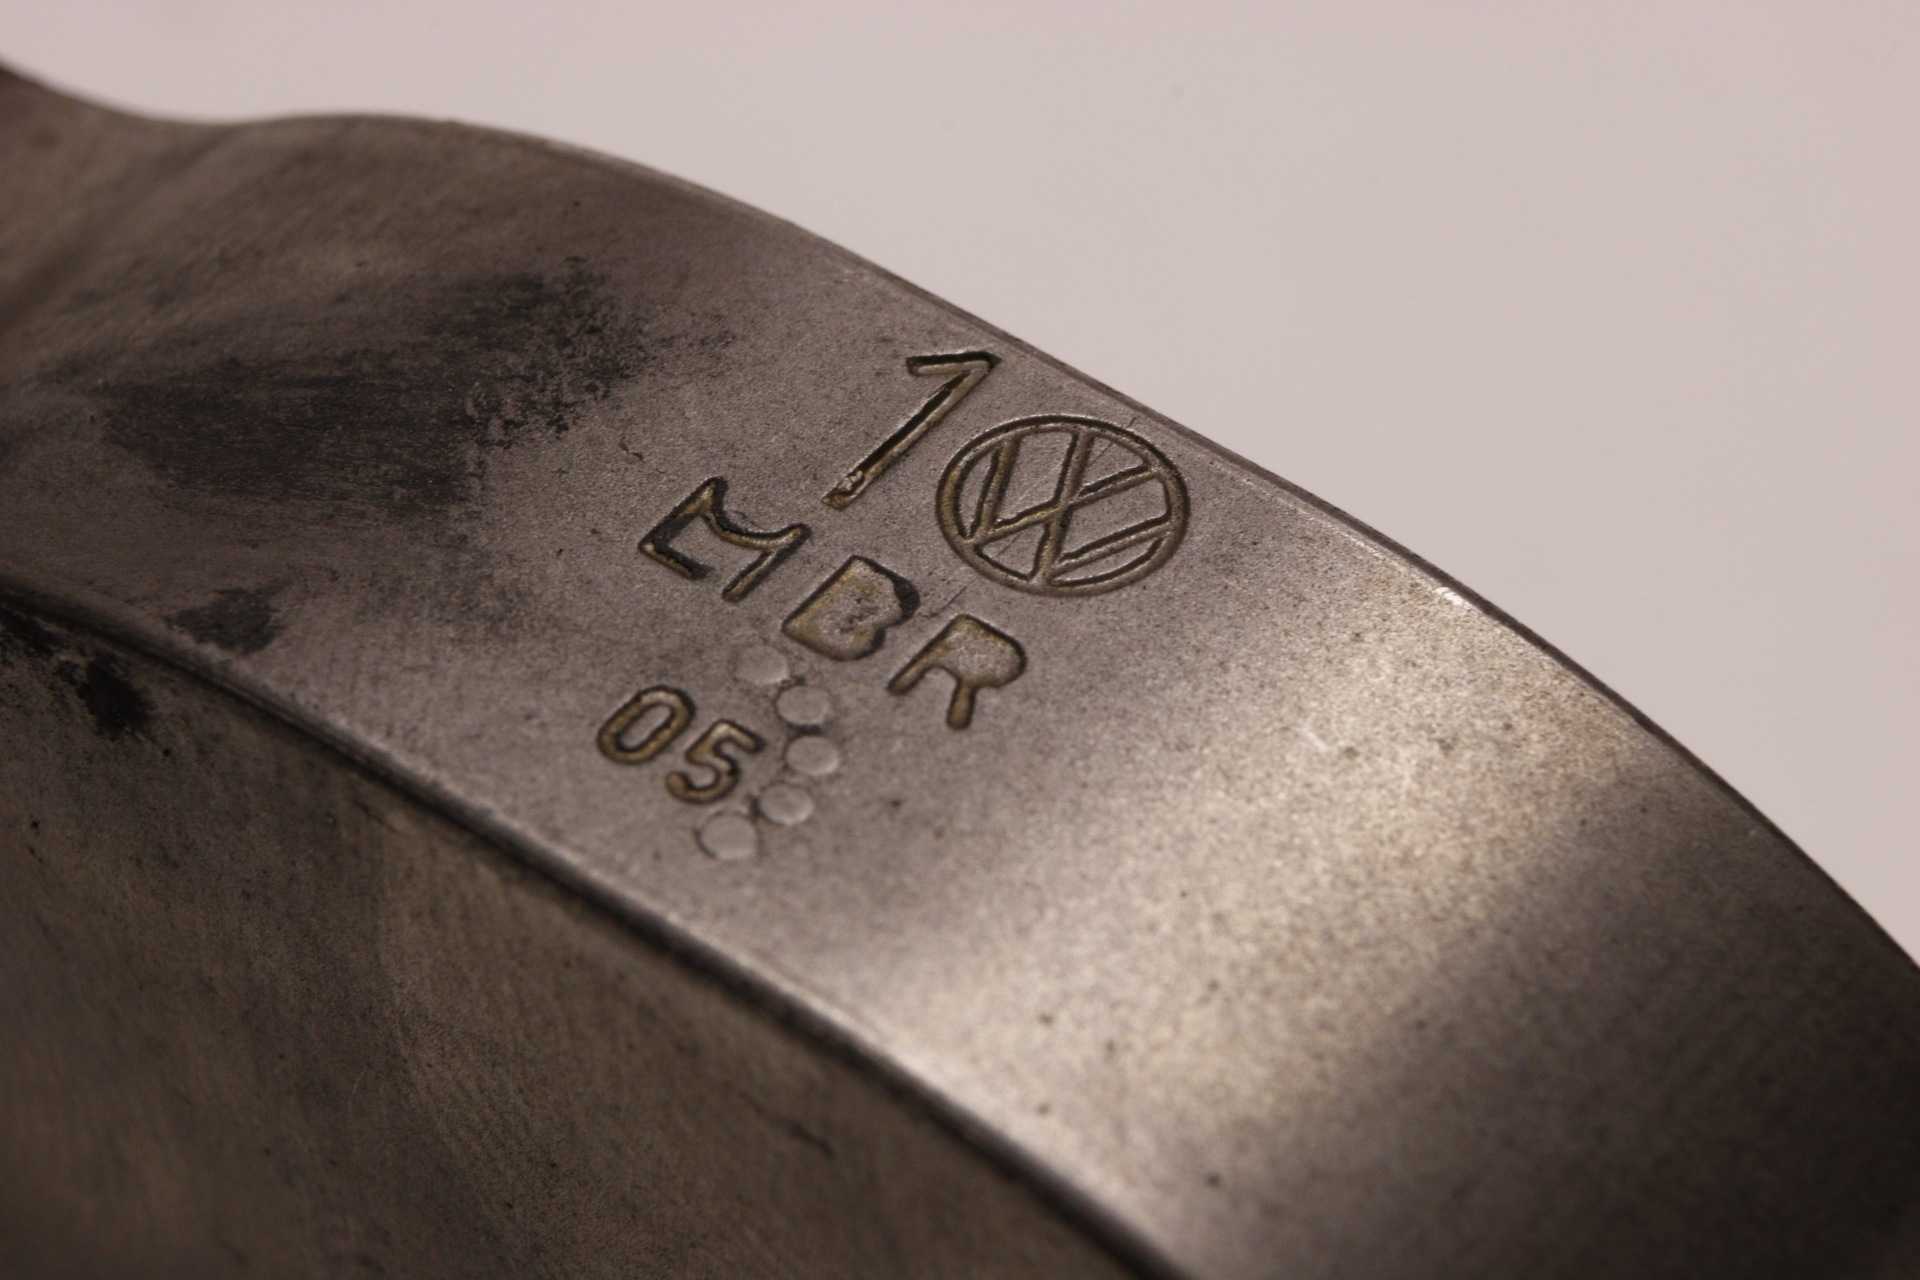
 Next I set in the new OEM thrust bearings. No pictures actually installed but I do have some close ups of the thrust bearing and bearing cap.


Next I laid the crankshaft in.

Unfortunately I don't have any images of the ARP main stud installation. One thing to note is the tolerance for these studs does not allow the bearing to "slip" over the studs when tightened down fully. What this means is for each bearing cap I had to hold and fiddle it around a bit while hand tightening each stud. Not a problem just something to note as most engines cap and stud installation you can simply put the studs in and then place the caps over and tap down.
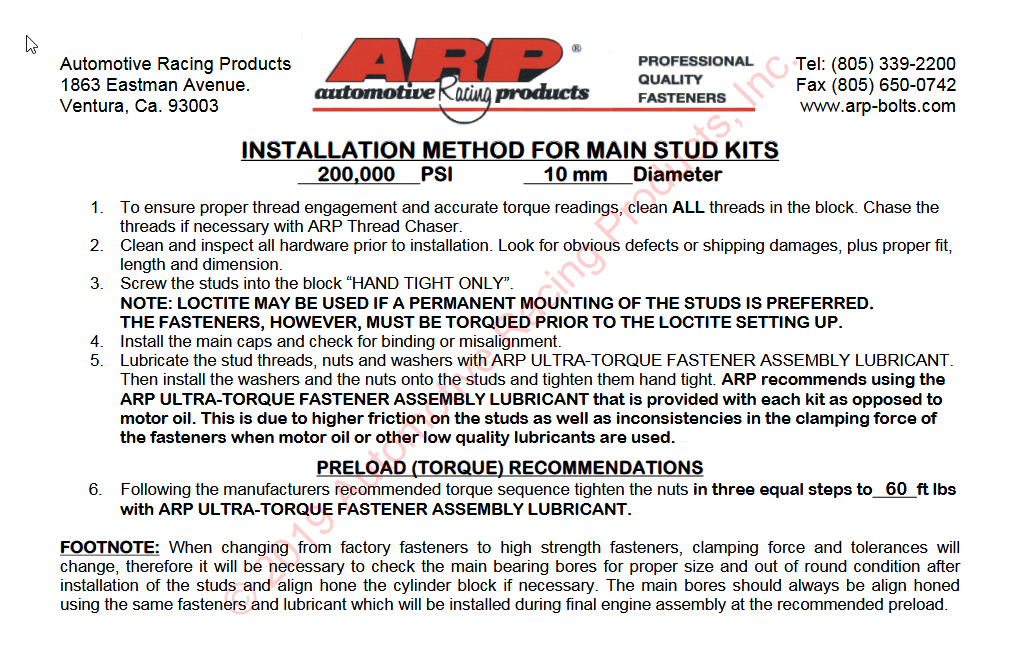
Next was torquing everything down. Now because this stud kit is put together by Integrated Engineering and not ARP there is a lack of instructions for the "kit". However, because the bottom end of an 07k and 1.8T are near identical I simply used the official 1.8T instructions from ARP. I have attached the instruction sheet below.


And here is a gif of the end result
